
Introduction
Some lenses do an incredible job of capturing light even in very low-light situations. However, these lenses tend to be very expensive and in these low-light situations you may need the assistance of a flash light in order to get the exposure that you want.
Flash is also used routinely in broad daylight, to remove shadows, especially from peoples’ faces. This is often termed “fill-in flash”.
When you’re using a flash, you don’t need to worry so much about if the illumination that is available is of sufficient strength. In fact, the problem you’re often faced with turns into how to avoid over over-illumination and how to prevent overly harsh lighting effects!
Types of Flash
Flashes come in a variety of shapes and sizes. Cheaper cameras tend often have flash units built into them. These typically only work over a few metres and are not generally suitable for illuminating large areas and venues. Since the built-in flashes are fixed in position, this can cause unwanted dark shadows in your images.
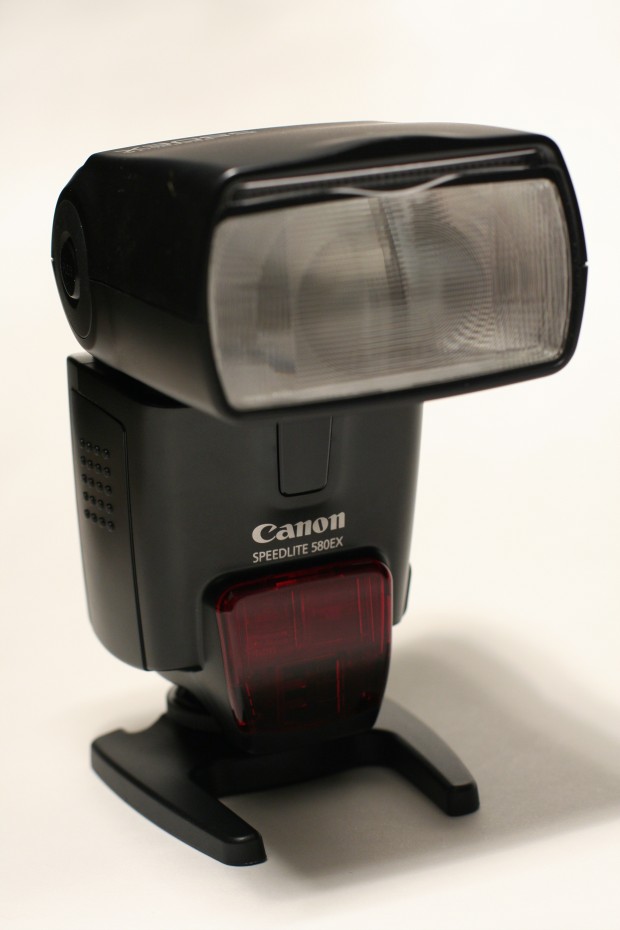
Professional and semi-professional cameras do not tend to have built in flash. Instead you can attach a separate add-on gun. For example, a “Hotshoe flash” has an adjustable head that can be pointed at an angle, and tilted from side to side.
Ambient Light
When using a flash it is easy to forget about ambient light. However, in practice you need to balance the ambient light contribution with the light contribution from the flash. Ambient light is the natural light in the scene, such as daylight and sunlight. Actually, any light coming from any other source apart from your photography apparatus. The main techniques to control the amount of ambient light are to change the shutter speed or the size of the aperture.
Flash exposure can also be adjusted by controlling the size of the aperture. The other ways in which it can be controlled are by changing the power settings on the flash unit and adjusting the distance from the subject (see Inverse Square Law below). Note that these two settings are independent of the ambient light source (assuming the ambient light is uniform).
The Inverse Square Law
In case you are ever asked, it is worth knowing about the Inverse Square Law. As well as applying to lenses and focal length, this also applies to light in general and camera flashes. This law states that if you double the distance between the source of light and the target the light reaches, then the intensity of the light at the target will decrease, not just by a factor of two, but actually by a factor of four (i.e. multiply by the inverse squared = 1/(2 squared) = 1/4). In practice, since reflectors and lenses are used in most light sources, you will not see exactly this behaviour, but it is a good rule of thumb. It is also highly unlikely you will be performing these types of mathematical calculations when taking a photograph. Instead you will find it necessary to become familiar, over time and through experience, with your flashes and lighting equipment.
Techniques for Using your Flash
There are several different ways of taking flash photography.
Direct Flash
If you are using a high-powered flash, not the weak type of flash on a built in camera, one of the worst possible ways to use it is to point the flash directly at your subject. If you are not careful this can lead to photographs with harsh lighting, shiny faces, and too much background shadow (if the subjects are standing in front of a wall or background). To work around this you can try altering the distance of the subject form the wall, but this is not always going to be possible, if you are photographing a live event, such as a wedding. Some photographers make use of dome-shaped or box-shaped white-plastic diffusers which sit on-top of the flash, to distribute the light out and make it less harsh and less directional. It is even possible to use a simple white card positioned next to the flash to achieve this.
Bouncing the Flash
Instead of directly pointing the flash at your subjects, another much-used technique is to bounce the flash off surfaces, such as the ceiling, or wall surface. This softens the effect because the light has to travel further and spreads out as it bounces off the surface. If bouncing off the ceiling, you may get shadows appearing above the eyes. By bouncing off a wall instead of the ceiling, you can avoid these shadows, and can increase the amount of light, since a wall is often closer and you can adjust your position if need be.
Detached Flash
For ultimate flexibility you can use a detached flash which can be pointed at any angle and positioned far away from the camera. Again, whether you can use this depends upon the type of photography you are taking and this will not always be practical.